
It’s fall, y’all. I can officially lift the household ban on squash and pumpkin. Yes, I did do an orchard visit with my mom, dad and sister early September (there was grieving, so naturally, taking a short drive to a beautiful orchard where there were also golden retriever puppies seemed like a no-brainer on a beautiful September day). But apples are an all-season fruit IMO. Apple cider is allowed prior to pumpkins, but it has to be the good stuff from an orchard. After a glass or two, I’m ready to make apple cider caramels!
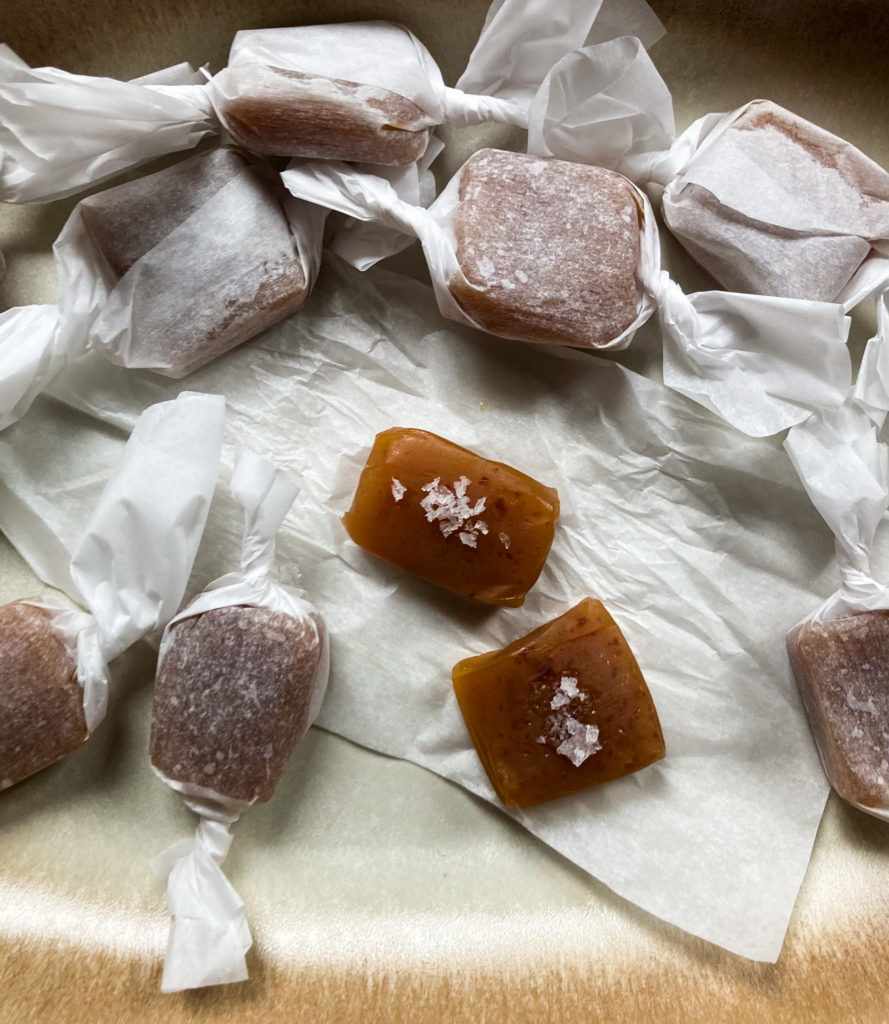
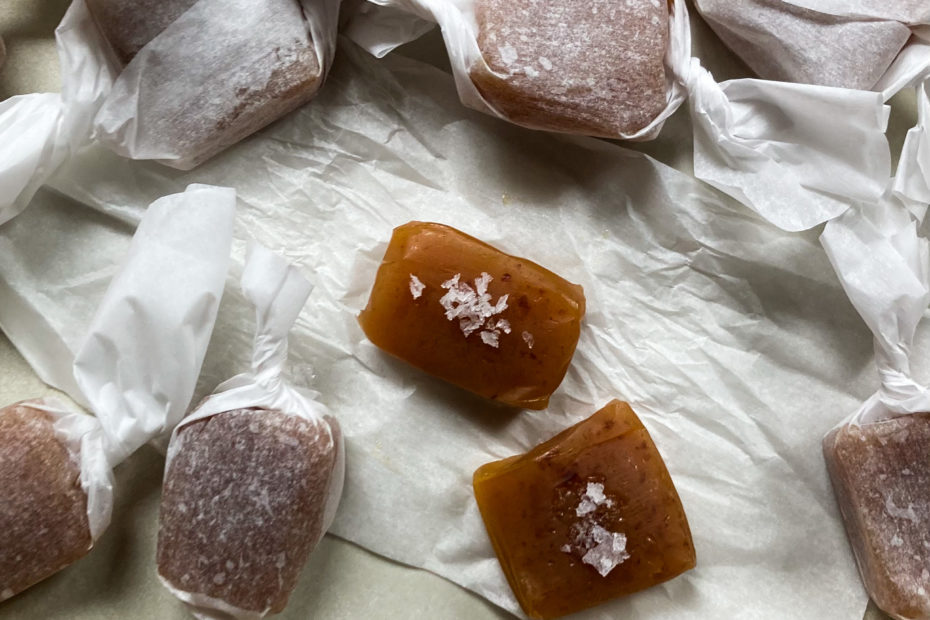
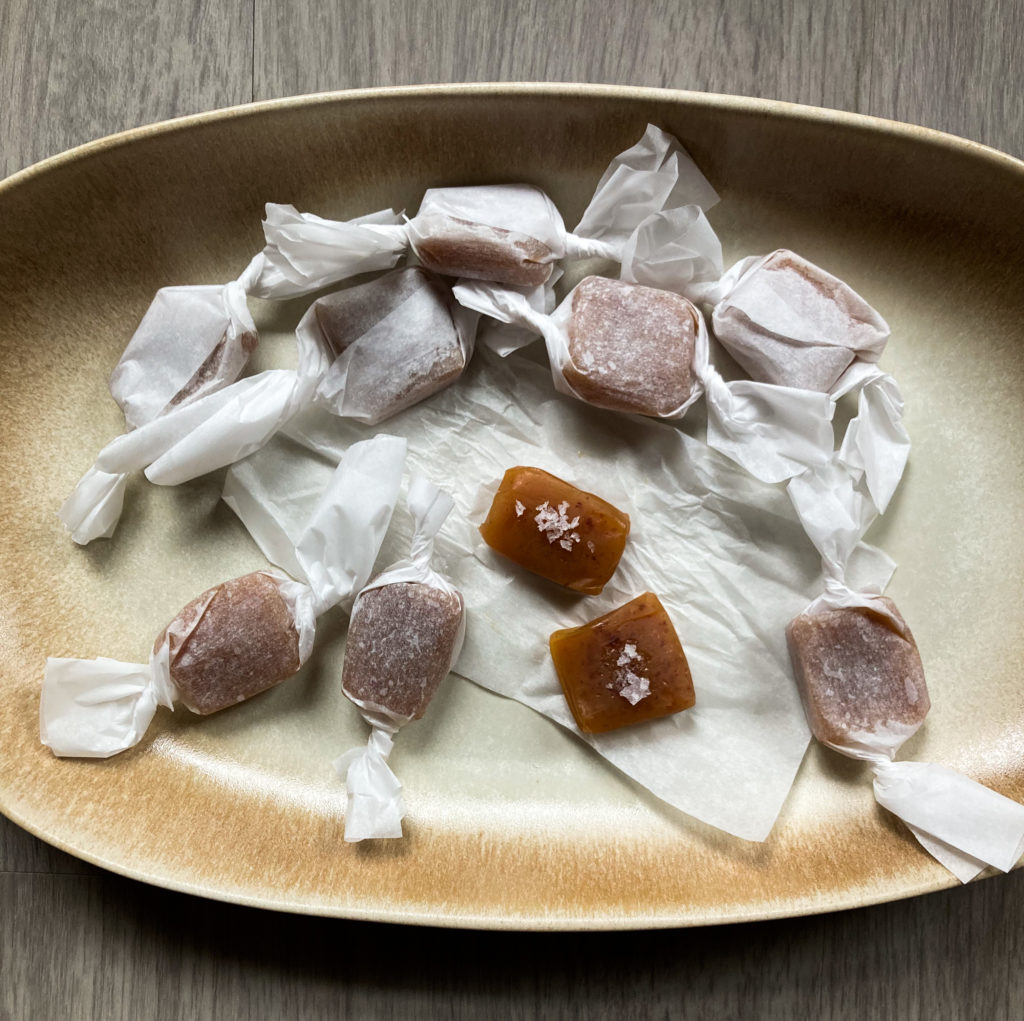
The flavor of these apple cider caramels primarily comes from concentrating a quart of apple cider down to 1/3 (!) of a cup – the syrupy apple goodness is aromatic, tart and dark. Then, you add in butter, cream and sea salt. Boil a bit more, until soft-ish ball (I like mine cooked to 243-244F), stir in flakes of sea salt and some cinnamon, pour into a pan, and you’re set. I like to cut and wrap mine, optionally sprinkling more sea salt on top.
These caramels are literally the essence of fall. They taste like apple pie, a cup of cider, a caramel apple – all in one. It’s a triple threat. It’s now a tradition to make these after purchasing orchard cider. They are that good. This recipe is lightly adapted from Smitten Kitchen – the only real modification or suggestion I have is to boil the cider down to 1/3 of a cup (not giving a range like Deb does). When talking about sugar cookery, it’s best to get cooking masses up to temp (and therefore to your desired moisture content) as fast as feasible. Especially so when you’re introducing acidic ingredients, like apple cider. Acids cause sucrose inversion (creating glucose and fructose), which has pros and cons with caramel cookery. Long story short: concentrate the apple cider to 1/3 cup from the get-go, it leaves less water that needs to be boiled away (meaning less time cooking sucrose with acids) after you add the butter and cream.
This is a great recipe to make for caramel-curious folks, since luckily, more sucrose inversion also means less risk for sucrose crystallization, a defect that deters many people form making caramels.
Apple Cider Caramels // makes about 36-40 bite-sized caramels //
- 4 cups (1 quart) apple cider (the more flavorful, the better)
- 1 (8 TB, 113 grams) stick unsalted butter, cut into small chunks
- 1/2 cup (110 grams) light brown sugar
- 1 cup (200 grams) granulated sugar
- 1/2 cup heavy cream
- 1 tsp flakey sea salt
- 1/2 tsp ground cinnamon
- In a 3 to 4 quart pot (you’ll be making the whole caramel in this pan eventually), pour the cider. Over medium-high heat, bring to a strong simmer. Reduce to 1/3 cup, stirring occasionally and watching closely towards the end. The syrup can burn easily. Check for progress by measuring in measuring cup or glass Pyrex measuring cup. If you’re not at 1/3 cup, simply pour back into pan and check again after a minute or two.
- While you are reducing the cider, prepare an 8″x8″ pan by layering it with two sheets of parchment, criss-crossing them. Make sure the whole pan sides are covered.
- Once reduced to 1/3 cup, add the butter, sugars and cream. Cook over medium-high without stirring, until the temperature reaches 242F to 244F (I prefer closer to 244F).
- One the mixture reaches temperature, stir in the cinnamon and and flakey sea salt, taking care when mixing the super hot caramel.
- Pour into the pan, and allow to cool completely too room temperature. You can now proceed with cutting, or, cover and refrigerate until cool.
- Oil a knife, and cut into pieces – I cut into 6×6 (so you’ll get 36 caramels) or larger/smaller as desired. You can leave them in the pan, or, I recommend wrapping them in pieces of parchment (3″x3″ pieces). Store in a sealed container or bag in the fridge or at room temperature. They will last almost indefinitely in the fridge in a sealed container, and will last a few weeks at room temperature.